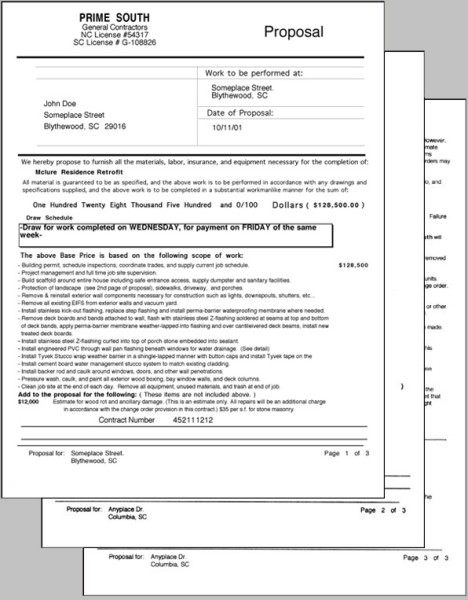
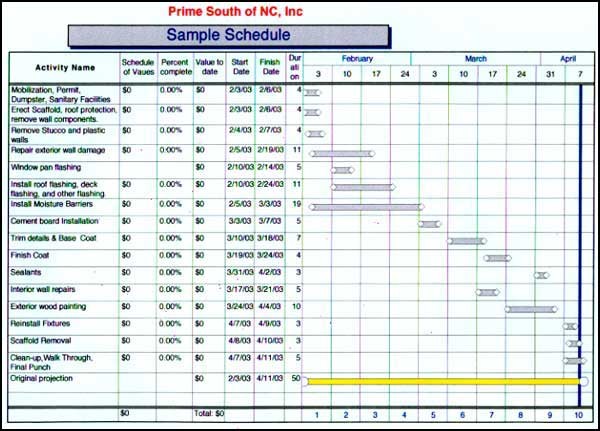
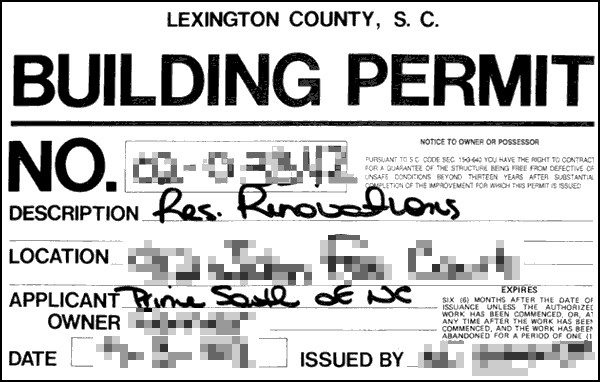
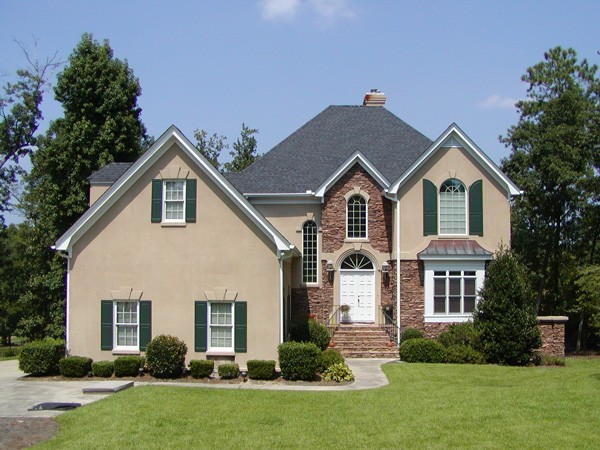
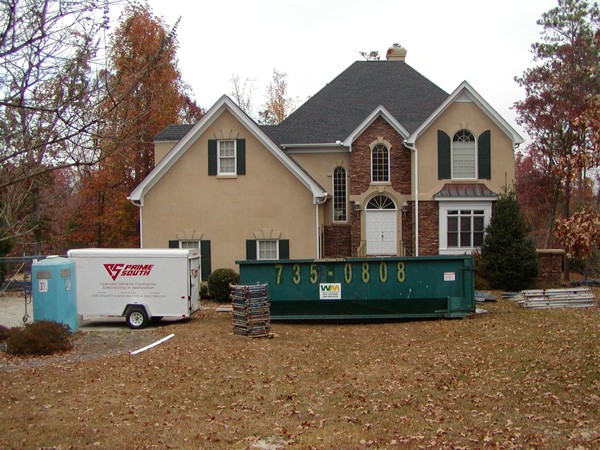
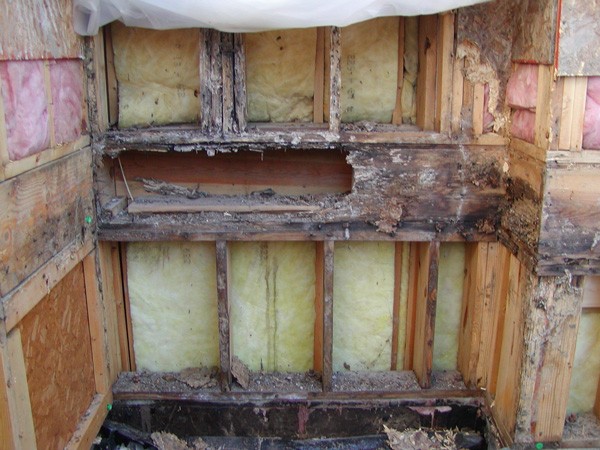
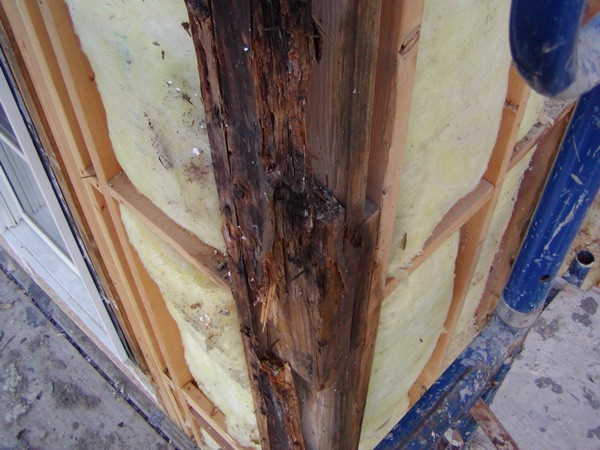
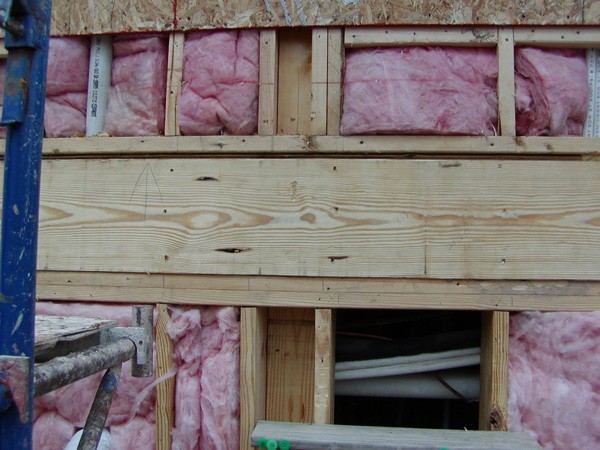
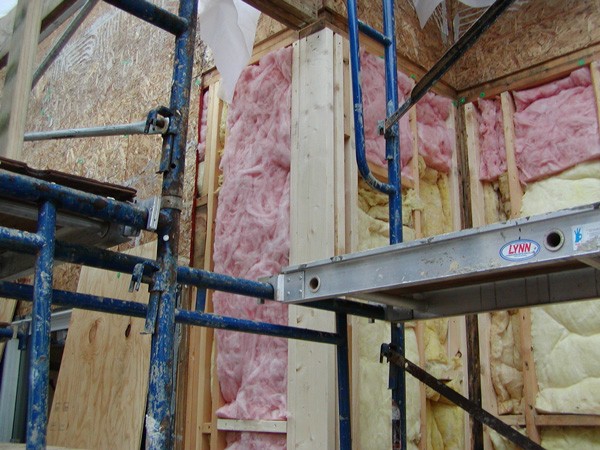
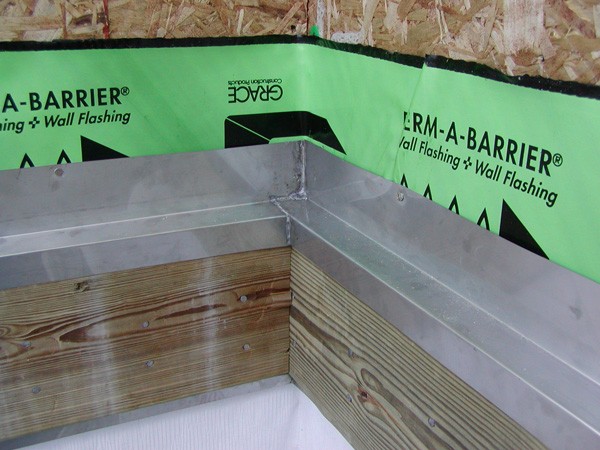
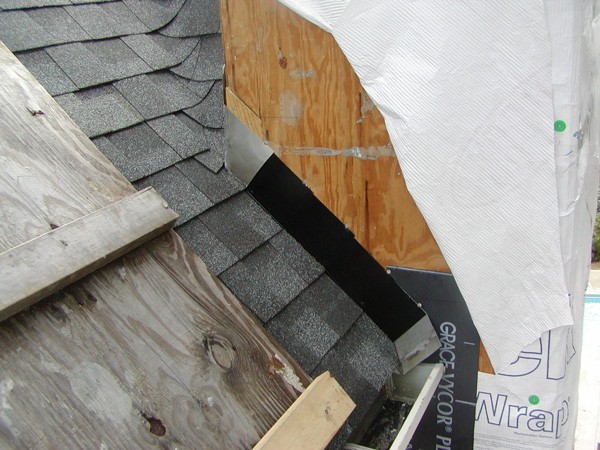
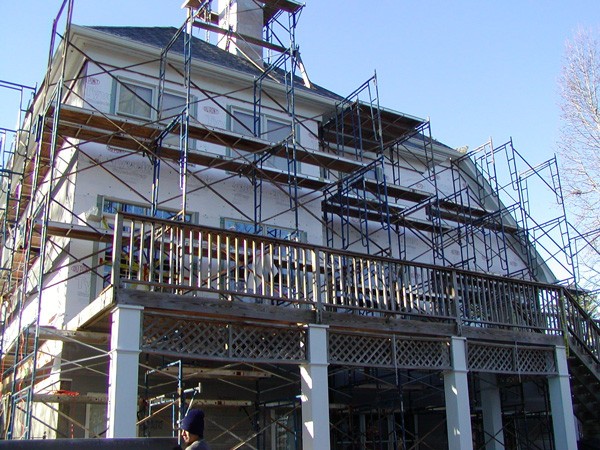
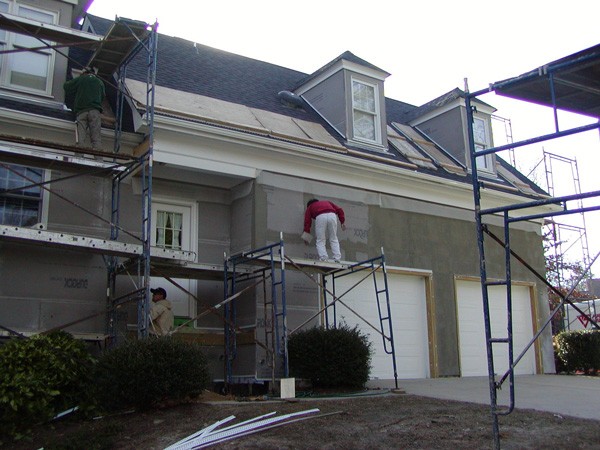
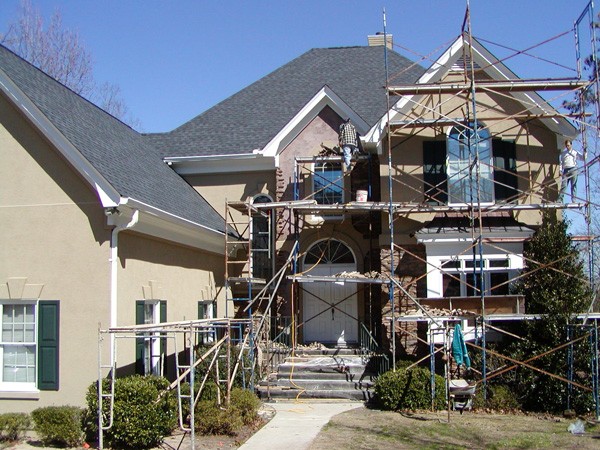
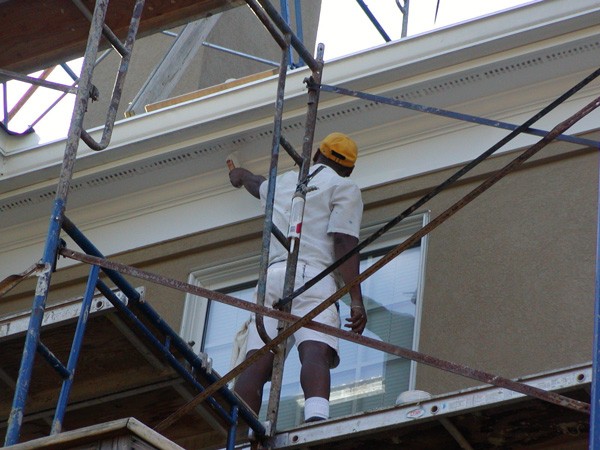
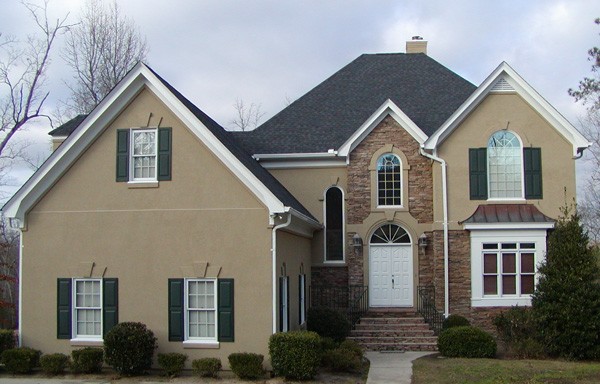
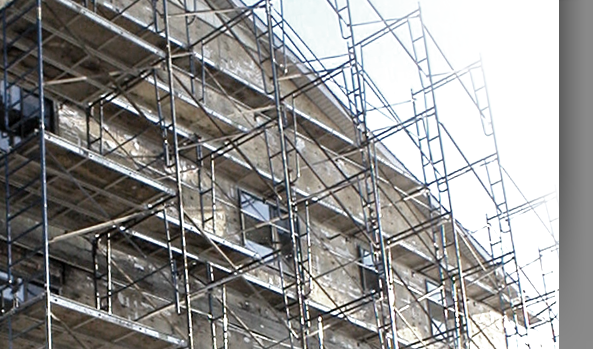
This series of photographs shows an example of the project sequence from start to finish. This project was completed in Columbia, SC and involves replacing the cement board and culture stone of the home.

click here to go back to more residential projects

Step 1: The Proposal 
The contract is signed. 
Step 2: The Schedule 
A schedule is provided to the client. Step 3: The Permit 
A building permit for the project is obtained from the local building inspection department. 4. House before construction begins 5. 
Equipment is delivered to the job site such as dumpster, scaffold, tool trailer, and port-a-john. Scaffold is erected around the entire house per safe OSHA standards. Safe garage access is provided to allow the homeowner full use of their garage while the construction continues. Bushes are tied back to minimize damage. A temporary silt fence keeps construction traffic close to the house and prevents the construction work from infringing on the neighboring properties. 6. 
The existing cladding is removed. The debris are put in the dumpster. The yard is then vacuumed in efforts to remove small pieces of debris. A magnet is used to scan the area for nails and screws. 7. 
Plastic temporarily protects the bare wall from weather damage during construction. 8. 
Damage is documented before repairs begin. This is damage below a second floor deck connection. 9. 
Repairs are documented, as well as inspected by the local building inspection department to insure code compliance. 10. 
Repairs are documented, as well as inspected by the local building inspection department to insure code compliance. 11. 
Flashing is installed. Flashing is a critical component for a weatherproof wall assembly. All penetration areas of the wall such as windows, roof lines, decks, lights, pipes, porches, and others must be properly flashed to protect the wall from water penetration. This flashing is at a deck connection. 12. 
Flashing is installed. Flashing is a critical component for a weatherproof wall assembly. All penetration areas of the wall such as windows, roof lines, decks, lights, pipes, porches, and others must be properly flashed to protect the wall from water penetration. This is new step flashing leading to a new stainless steel kick-out flashing at a roof line termination. Notice that the kick-out flashing has a waterproof membrane installed behind it that properly laps over the house wrap. These redundant flashing methods enhance long term wall protection. 13. 
The house wrap is the secondary weather barrier. It is properly installed to work with the flashing components of the wall. The flashing and house wrap work together to protect the wall from moisture damage when properly installed. 14. 
The new cladding is installed. The new cladding on this house is a cement board stucco system with cultured stone accents. This picture shows the multiple cement coatings and reinforcing mesh that are applied to the attached cement board. 15. 
This is a portion of the front entrance area prior to the cultured stone application. 16. 
Stone application. 17. 
Exterior wood soffits, windows, doors, and other adjacent wood surfaces are cleaned, properly prepared, and then painted. 
18. 
The project is completed. All equipment and materials have been removed from the job site and everything is thoroughly cleaned. 
19. Material Brochure
Product information and warranties provided to the homeowners. 
20. Warranty
Prime South warranty issued to homeowners. 21. Job Documentation
Prime South issues a customized 3 ring binder documenting the entire job process. The book inlcudes a pictorial guide of the work we completed and product information and warranties.